Non-fungible tokens (NFTs) made headlines throughout 2021 with projects such as CryptoPunks and Bored Ape Yacht Club (BAYC) selling for over 100k per NFT. These headlines resulted in a boom throughout the NFT community, with hundreds of projects looking to capitalize on the hype.
Most NFT projects are created on the Ethereum network as ERC-721 tokens; Ethereum historically has a monopoly on the NFT market. However, NFT enthusiasts quickly noticed several problems resonating from a lack of efficiency in transactions. Not only were transaction fees extremely high, but they also took a long time to process due to network congestion.
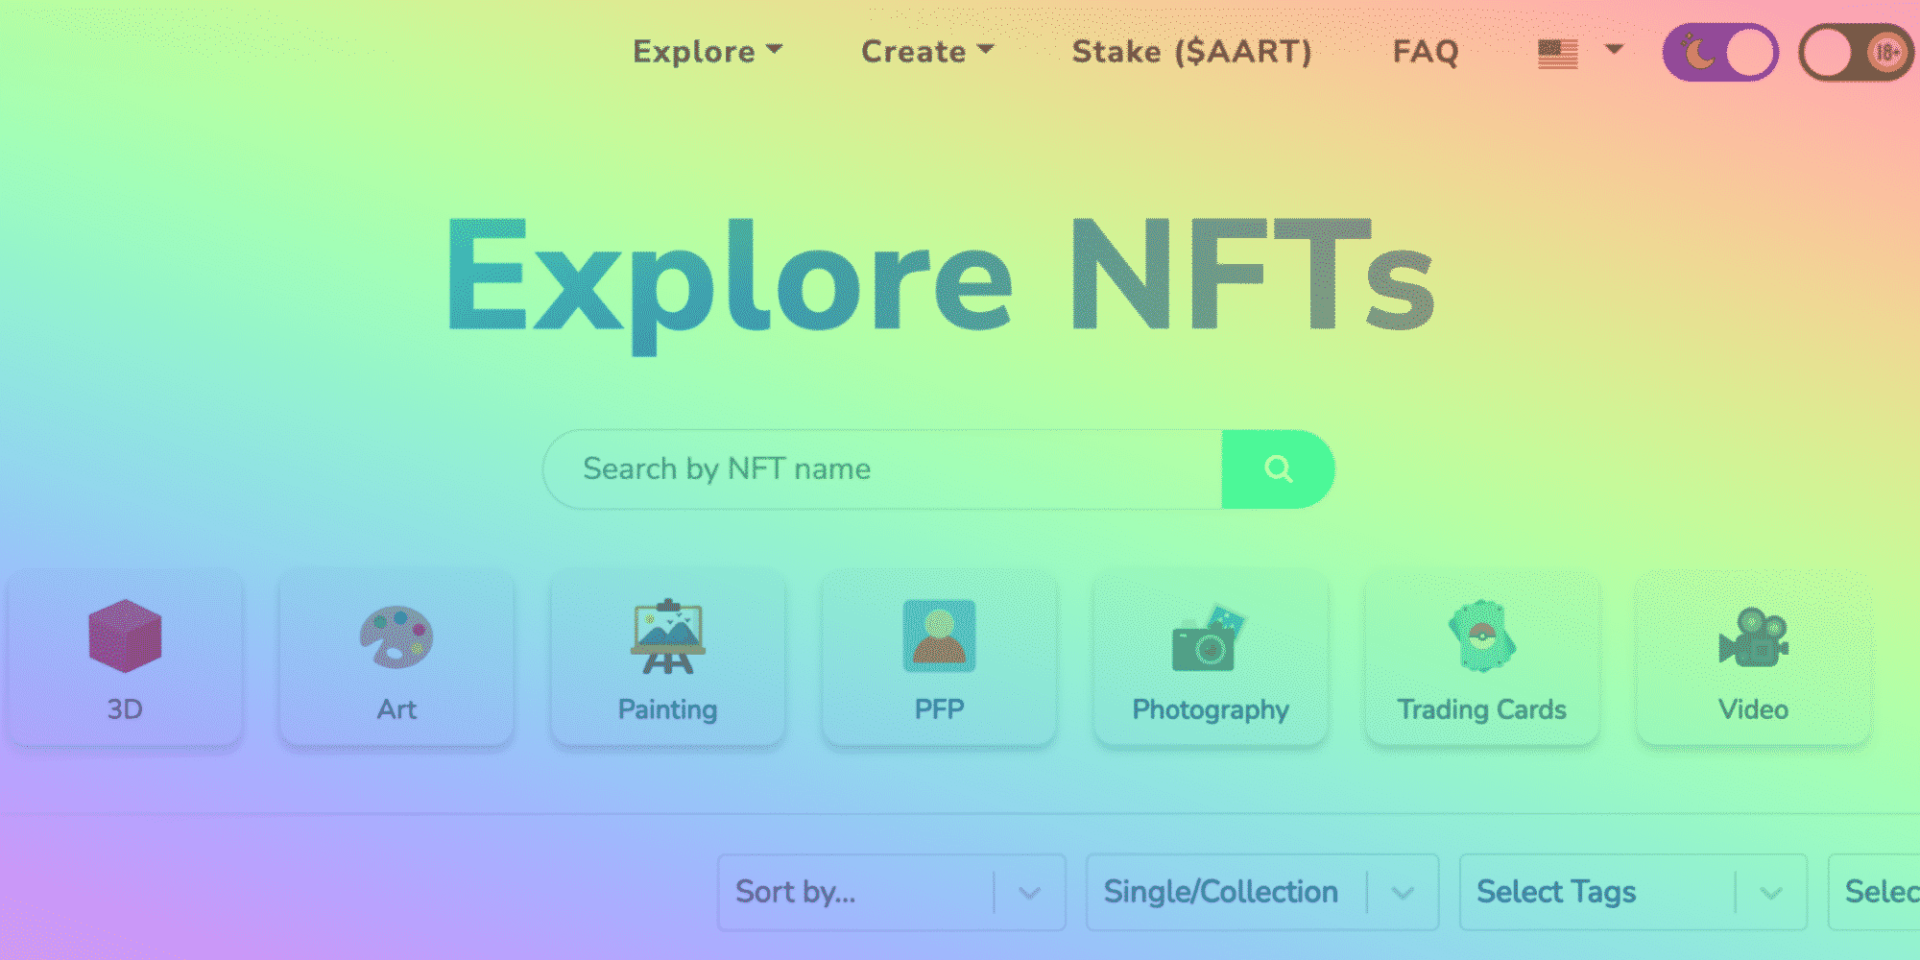
The Solsea explore page
As a result, alternative Layer-1s like Solana were created with the purpose of developing cheaper, faster solutionsSolana provides users with the chance to create NFTs that are both easier and cheaper to transfer. In this guide, we’ll break down how you can mint NFTs on Solana’s Solsea, the network’s largest NFT marketplace.
How to Mint Your Own NFTs on Solsea
Solsea is the most popular NFT marketplace on Solana. It’s compatible with several cryptocurrency wallets, however, for the purpose of this guide we’ll be using a Phantom wallet (don’t worry, we’ll walk you through how to install it.)
Here’s a step-by-step guide on how you can mint your own NFT on Solsea.
Create And Fund A Phantom Wallet
-
Install Phantom
To mint an NFT on Solsea, you’ll need your own wallet. You can install wallets from your browser, with the most popular crypto browser being Brave. In the future, it’s expected that most wallets will be compatible with non-crypto browsers such as Chrome and Firefox.
Start by going to Phantom.app and downloading the browser extension. Once the download is complete, the Phantom icon will appear in your Extension Button. Click the icon and the installation will begin.
-
Create Your Wallet
When finished, a new page will open. Use this page to create a “New Wallet.” Upon creation, you’ll receive a recovery phrase. This can be used to recover your account. Make sure to write it down in several places and keep them safe. If you lose this phrase, you could lose access to your account!
Once your wallet has been created Phantom will automatically be added to your Browser.
-
Add Funds To Your Wallet
To mint an NFT on Solsea you’ll need Solana’s native cryptocurrency, SOL. Head over to a crypto exchange (Coinbase Pro is the most popular) and buy SOL. Transfer your SOL to your Phantom Wallet by scanning the QR code or by copying and pasting the wallet address. This transaction may take a few minutes. Once complete you can start minting on Solsea.
Create A Solsea Account
-
Connect Your Wallet
Your next step to mint an NFT on Solasea is to create an account. To begin, head over to Solsea and connect your wallet using the “Connect Wallet Option.” Your Phantom extension will pop up on your screen asking for permission to connect.
-
Create Your Account Details
After connecting your account, a Solsea sign-in page will pop up. Enter your primary email and a password of your choice. You’ll need to agree to the terms and conditions to register. Once registered, Solasea will send you an email and your wallet will automatically connect to Solsea.
After this stage, you’re ready to mint your collection!
Mint Your Collection
Step 1: Fill Out Your Collection Details
Go to the “Create” tab and click on “Collection.” Here you can choose the name of your collection and a personalized description.
After choosing a name, upload an icon image and a header. You can also link your website and social media pages to help engage with your audience.
Step 2: Create Your Collection
Once you’re happy with the details, click “Create Collection.” You’ll need to sign the transactions to mint the collection. Wait for the collection to complete. If you’re unsure whether or not it was successful, you can check your wallet to review your transaction history.
Step 3: Mint Your First NFT
When the transaction is finished, head to your Wallet and click “My Collection” to confirm your details are correct.
Head over to the “Create” tab and choose “NFT.” Here you can upload your NFT file. Solsea currently accepts the following formats: JPEG, GIF, PNG, MOV, and MP4. Make sure your file format is supported.
Once uploaded, choose a title for your NFT and complete a small description.
How to Set Royalty Payments on Solsea
As an NFT creator, you want to be able to make a profit from your collection. This is where royalty payments come into play. Royalty payments determine how much you’ll earn from an NFT each time it’s resold.
The % to choose from ranges from 0% to 50% and can be based on your collection plans.
Step 5: Set Additional Details
After royalty payments, you’ll see several additional fields such as an external link to your artwork page. Complete these details and choose the right tag for your file type. This tag will determine where your collection shows up on searches.
Licenses: Solsea allows creators to embed licenses on NFTs. These licenses are a great way to specify what comes with your NFT. For example, access to a community, weekly reports or NFT mutations down the line. Add them to build trust amongst your buyers by letting them know exactly what they’re buying.
Step 6: Add Traits
You’re almost there now! All you need to do is add your traits to your collection. These can be anything from colors and facial expressions to poses and unique accessories. Make sure you get them right, as you can’t change them once they’re minted.
After adding your traits click on “Mint NFT”. You’ll need to sign all transactions to complete this process.
Once signed, you’re ready to go! Click “See Your Mint” to take a look at your first NFT!
Step 7: Add Your NFT To Your Wallet
Your NFT will automatically be added to your Phantom Wallet. You can keep it there for personal use or you can list it. Once listed, your NFT will be removed from your wallet.
Step 8: List Your NFT
Head over to your Wallet and click on “NFTs in My Wallet.” From here click “List NFT” and choose the price you want to list it for. Complete the listing and your NFT will now show in the “My Wallet” tab.
And just like that, you’ll have created and listed your first ever NFT! Based on the royalty rate you set, you’ll receive additional funding once an NFT is sold from one holder to another.
Use Solsea To List As Many Collections As You Want
Creating and selling NFTs on Solana is relatively easy compared to many alternative marketplaces. It requires no special coding knowledge and is, therefore, a great place to get started for new NFT creators.
Once you get used to the platform you can use it to list as many collections as you want, creating and selling a range of NFT collections for people to enjoy.


